Showing posts with label peanut butter. Show all posts

Friday, October 3, 2014

Snack Bars - Sugar Free!


Full disclosure - this recipe is from someone else's blog. Here is the original link: http://www.superhealthykids.com/blog-posts/healthy-no-bake-snack-bars.php

I am attempting to go sugar-free for a month. Today is Day 5. My friends have been kind enough to send me some recipes to help get me through the hard times and this is the first one I received. I made these last night and they are very yummy. I know those of you with kids are wondering if your kids will eat these - mine tried them. Sam said it wasn't terrible. Noah spit it out. There you go.

I don't have a big, long, rambling story to tell here, so I'm going to get right to the recipe!

Ingredients

2 cups pitted dates
3/4 cup raw cashews
1/4 cup nut butter (You have to use homemade or natural nut butter to ensure there is no sugar in there. Here is the link to my homemade peanut butter: http://richlerrecipes.blogspot.com/2014/05/homemade-peanut-butter.html)
1/2 cup unsweetened shredded coconut
2 tbsp unsweetened cocoa powder
1 pinch of salt


Method

Put everything in a food processor and mix it up until the mixture forms a ball. I put everything in except the nuts for the first few spins because I wanted the nut pieces to be a bit bigger. So after three or four pulses of the processor I removed the lid and added the cashews into the mix. This is what the mix looks like when it starts to form a ball in the processor.


Pour the mix into an 8 inch by 8 inch square pan


Press down firmly. Cover the pan and put it in the fridge for 30 minutes. 


Cut into bars or squares and serve! Make sure to store your squares in the fridge in an air tight container. They won't last long!

P.S. the original blog suggests using parchment paper in the pan, but I didn't have any and they turned out just fine.


Wednesday, May 28, 2014

Homemade Peanut Butter


This is going to be a really short post. Not because I don't love peanut butter. I mean, that's what kept me alive for about 15 years (give or take 5 years).

Back in the day when I still lived in the most beautiful province in the world (Newfoundland and Labrador), and I was a VERY picky eater, I pretty much sustained my existence on peanut butter, Mary's homemade white bread (she made 6 loaves every single Sunday, without fail), homemade macaroni and cheese (http://richlerrecipes.blogspot.com/2011/11/grown-up-macaroni-and-cheese.html), and tomato soup. Ahhhh, those were the days.

Since that time my love affair with Kraft Peanut Butter has remained untarnished. A few years ago I started buying natural peanut butters, and they are OK, but the separation that happens really bugs me. Who has time to stir peanut butter every morning? Not me.

A couple of weeks ago I decided that this was the time to try to make my own peanut butter. As I normally do, I went to the internet and started my research. No matter how many posts I checked, they all said the same thing. Put some peanuts in a food processor. Process. Eat. For real.

So I did it.

Ingredients:

2 cups peanuts

Method:

Put the peanuts in a food processor. Process for 2 minutes. Eat.


Some words of caution, kind of. If you want a smoother peanut butter, add some oil (but not too much). If you want crunchy peanut butter, set aside 1/2 cup of the peanuts and add them just at the end. If you want a bit of salt in your peanut butter, add a pinch or two (or three). I use roasted peanuts for my peanut butter. The guidance I read online said not to use dry roasted peanuts. Next on my list is to try this with almonds and cashews. Maybe I will even make a mixed nut butter! 

Enjoy :-)

Thursday, December 15, 2011

Peanut Veggie Stir Fry


The other day at work we had our annual holiday potluck. Rather than make something sweet, I decided it would be good to have some vegetables available for myself since potlucks in the past have tended to be rather meat heavy, and I am a vegetarian. To my great surprise, everything on offer at the event was vegetarian!!!

This is a very quick meal to make once your veggies are prepped. If you want to make it during the week and find yourself pressed for time, you could cut up the veggies in advance and keep them in the fridge until you’re ready to go.


For the sauce, the only items that might not already be in your pantry and fridge are sesame oil, and Sambal Oelek (Thai red chilli paste). The other magic ingredients are peanut butter and soy sauce.


As you prep your veggies, group them with other veggies that take similar cooking times (for example, celery and carrots together, beans and peas together, peppers and zucchini together). The more organized you are with your mise en place, the faster the cooking process will go.

Ingredients

1 medium onion, chopped
2 cloves garlic, crushed
1 large carrot, thinly sliced
2 stalks celery, chopped
A large handful of green beans, cut into bite sized pieces
A large handful of snap peas or pea pods, cut into bite sized pieces
1 small head broccoli, cut into florets (you can also add cauliflower if you like – I didn’t have any on hand)
1 small can water chestnuts
1 small can bamboo shoots, which have been julienned (you can buy them in a can this way)
1 medium zucchini, sliced
1 red or yellow pepper, sliced (or ½ a red and ½ a yellow)
You can add mushrooms as well if you like, I don’t care for them so I leave them out J
2 – 3 tbsp peanut butter
2 tbsp soy sauce
2 tbsp grapeseed oil
1 tbsp sesame oil
Crushed peanuts (optional)
Cilantro (optional)

Rice or rice noodles (optional)

Method

 
In a large wok or non stick pan, put 1 – 2 tbsp grapeseed oil and 1 tbsp sesame oil. When it’s hot, add onions and cook for about 5 minutes (you can lower the heat so they don’t burn). Add the garlic and stir for a minute or so. 


Add the celery and carrots. Stir for 2 minutes. 


Then add the beans and peas, broccoli and cauliflower (if using). Stir for 2 minutes. 


Then add the rest of the vegetables. Stir for a couple of minutes – don’t overcook.


Add 1 tsp Sambal Oelek (Thai red chili paste, or if you can’t find Sambal, use another chili sauce). Add 2 – 3 tbsp peanut butter, and 2 tbsp soy sauce (approximately). Salt and pepper. Stir to combine the sauce with the vegetables. Taste it and adjust seasonings as you require.


You can serve it with rice, or rice noodles, or on its own. The julienned bamboo shoots look like noodles and have a similar texture so you might not even notice that the noodles aren’t there. You can add crushed peanuts on top when you serve it, and also cilantro if you have some around.

Enjoy!!

Monday, September 26, 2011

Whole Wheat Peanut Butter Dog Biscuits


We aim to please and are therefore, providing a recipe for your four-legged friends! The other night, my son and I were talking about what we could make next for the blog and at that moment, our new puppy charged into the room and slid into her bowl of food (empty because she had already eaten). Dog biscuits, I thought!

Our inspiration - Kugel the Poodle


I searched the web for some recipes – there are so many on there to choose from – but this one came up on at least 5 different sites so we thought it must be good. I don’t remember all the sites we checked, but I do remember that one of them was the Brown Eyed Baker’s site (since I love that site), so that is the reference I am providing.

We whipped these up in no time at all – and the puppy loves them. It’s also much less expensive to make your own treats, rather than buying some from the pet store.

Here is the recipe.

Peanut Butter Dog Biscuits
2 cups whole-wheat flour
1 tbsp baking powder
1 cup peanut butter
1 cup skim milk

Preheat oven to 375 degrees F. 

In a bowl, cream together the peanut butter and milk. 
Then add the flour and baking powder. Mix well. 


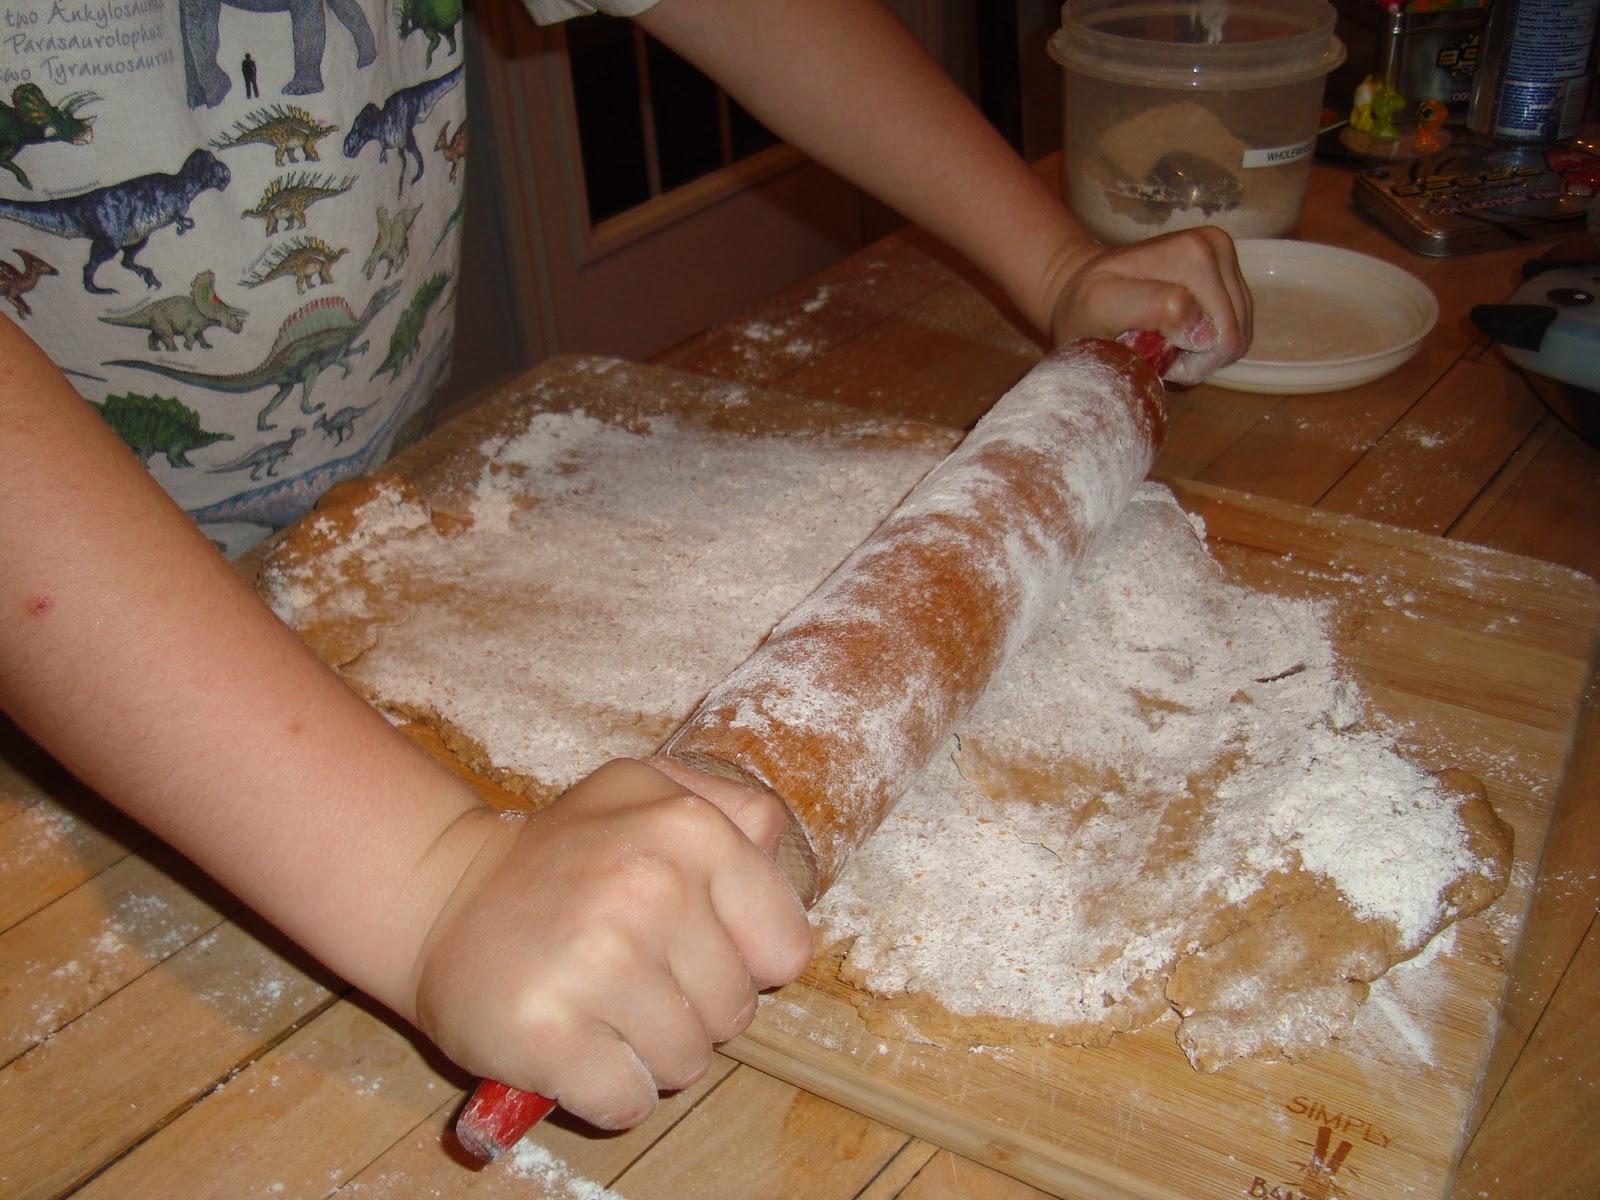
Turn out dough on a lightly floured surface and knead a couple of times and then form it into a nice round lump. Roll out to 1/4-inch thickness and cut out shapes.


Place on a parchment-lined baking sheet and bake 20 minutes or until lightly brown (they took 15 minutes in our oven – we cooked them at 350 degrees F on ‘convect’). Cool on a rack and store in an airtight container.


Makes about 20-30 dog biscuits, depending on which shape cookie cutter you use.

She loves them!