Showing posts with label delicious. Show all posts

Saturday, September 23, 2017

Baked Polenta Fries


I have this friend at work; let’s call her Lorraine (because that is her name). She introduced me to a restaurant that serves polenta fries. Whenever we go there together, we share an appetizer of four polenta fries and a tiny little bowl of marinara sauce. I could eat all four for my appetizer, and then four more for lunch and forget about everything else on the menu. I like these polenta fries so much that I decided to learn how to make them myself.

Are you afraid of polenta? Do you think it sounds super exotic and imagine it’s full of things of which you are unsure you will like? Take a deep breath while I tell you that polenta is corn. That’s right. Corn. Corn meal to be exact – that’s cooked on a stove in a similar fashion to quinoa, rice, bulgur, etc. You bring liquid to a boil, add the dried corn meal, stir, and then decide how you want to eat it.

Do you want to eat it creamy right off the stove? Perhaps you want your polenta cooled and sliced and served alongside meat with gravy on top? Or maybe you want to try polenta baked in the oven in the form of French fries. I am pretty sure that’s what you want to do. Here is how to do it (it’s SO easy!).

Ingredients:

2 cups water
1 cup milk
1 ¼ cups corn meal
½ tsp salt
pepper to taste
1-2 tbsp chopped fresh rosemary (optional)
¼ cup butter
1/3 cup grated parmesan (I use a mixture of parmesan and pecorino)

Method:

Bring the water and milk to a boil in a pot but don’t turn the heat up to maximum (otherwise the milk might burn). 


Measure out your corn meal and salt.


Get your lucky spoon ready to go. Mine was my Great Grandmother Clara's, and was then used for years by my Great Aunt Eileen. I inherited it when she passed away and make sure to use it as much as possible!


Once there is a small rolling boil on the milk/water combo, immediately reduce the heat to low and add the salt. Then slowly pour in the corn meal, stirring constantly.


Most recipes I have read say to keep the mixture on the heat for 10-20 minutes until it thickens. I do not understand how this is possible because my cornmeal thickens instantly and if I keep it on the heat, it bubbles and flies all over the place. So instead, I am going to ask you to turn the heat off, remove the pan from the stove, and stir until smooth (so you can’t see any lumps). Now you have polenta!


Add the butter and stir until it’s melted. 


Then add the cheese and do the same. 
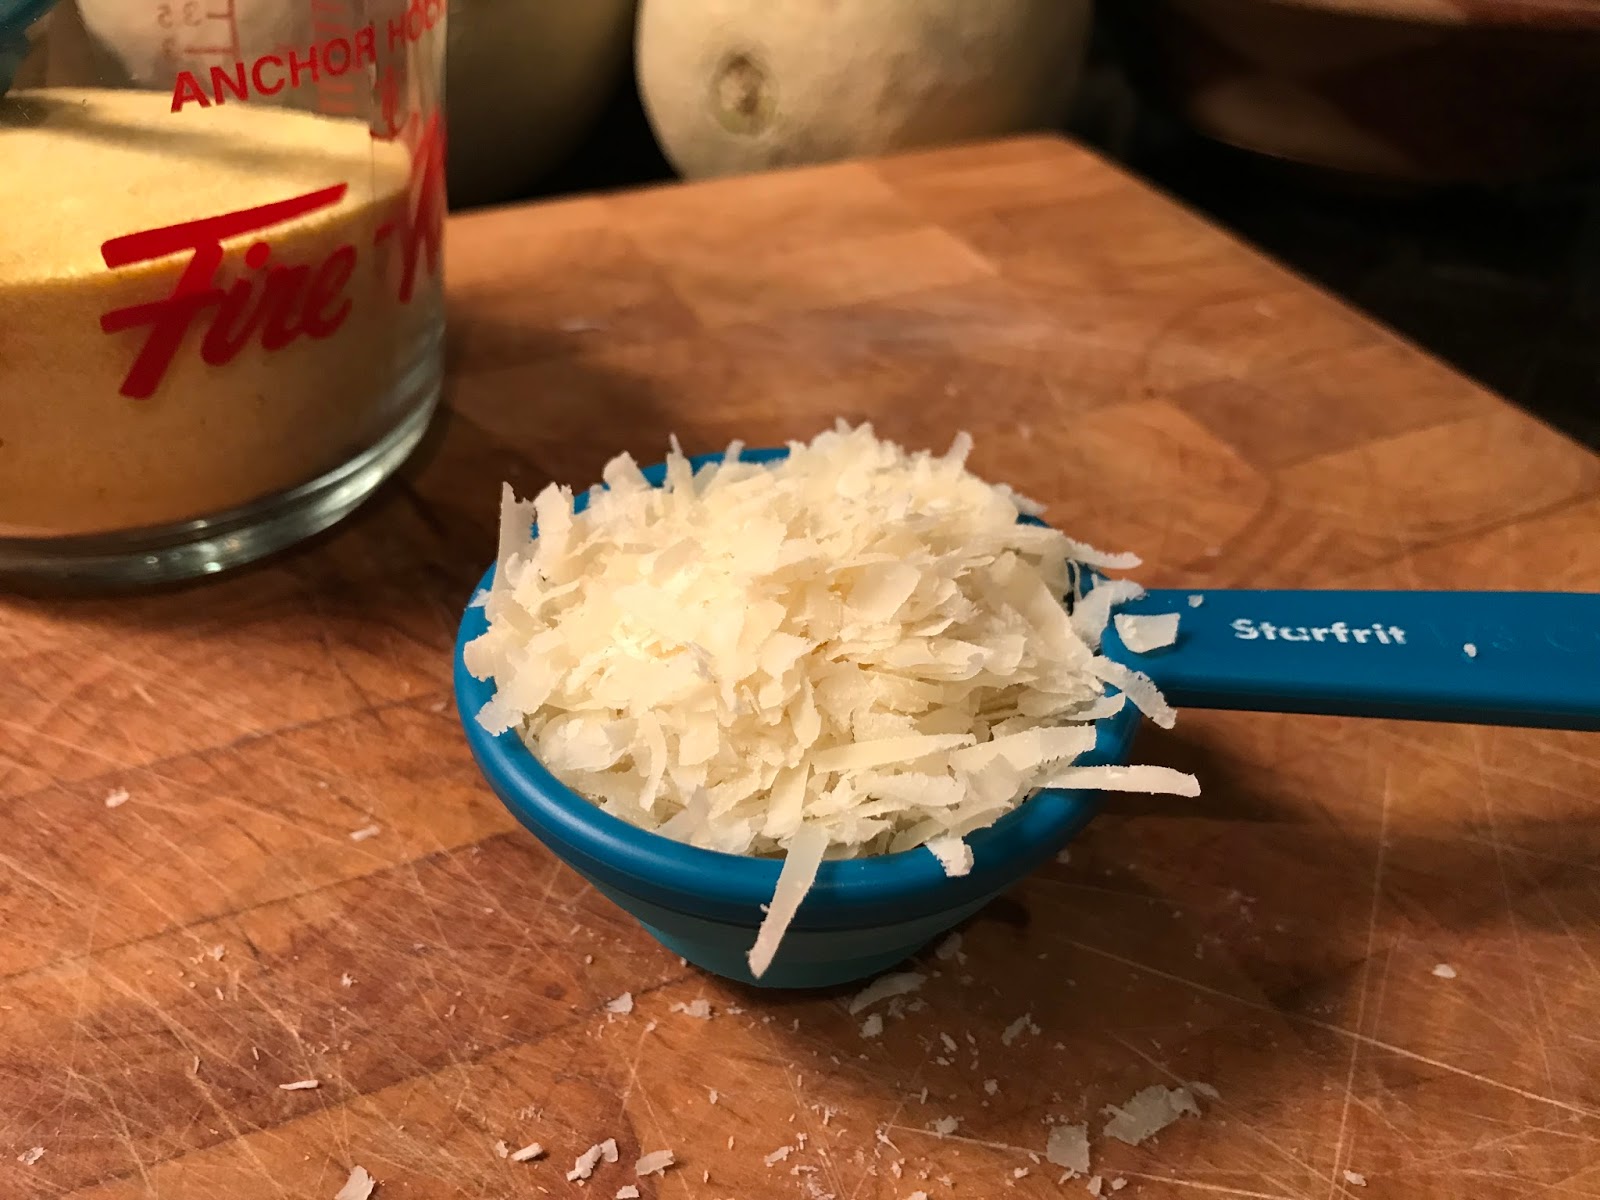


Now add your pepper. Taste it – is it good? Yes? Great. Needs salt or pepper? Add away! Here you could also add your rosemary but sadly for me, I don’t have any on hand today.


Now you’re going to take an 8 x 8 inch square glass casserole and line it with parchment paper. 


Plop the polenta into the prepared pan and use a butter knife or spatula to spread it out until it’s as smooth as you can get it. Cover and refrigerate for 2 hours or overnight.


Instead of using plastic wrap, try reusable beeswax wrap. You can wash it after use and use it again and again.


Remove from the fridge when set and grasp the parchment to lift the potent out of the pan. Place the polenta onto a cutting board. Use a sharp knife to cut the square polenta into “fries”. 


I like to keep them very thick so they crisp up on the outside when I bake them, but they stay fluffy inside (I use my two fingers as a guide for ideal width).


Prepare a cookie sheet by spraying cooking spray onto it, or using a brush to spread olive oil onto it. Place the fries on the cookie sheet, leaving space in between each of the fries to ensure maximum crispiness.


Bake at 425 F for 15 minutes then remove the pan from the oven and flip the fries over. 


Put them back in the oven for another 15 minutes or so, until they are golden brown and crispy around the edges.


Serve with marinara sauce, or pomodoro sauce – some kind of tomato sauce will do the trick (tomato sauce recipe here: http://richlerrecipes.blogspot.ca/2013/07/noahs-spaghetti-and-meatballs.html). 


You can serve them as an appetizer, side dish with salads or a main course like chicken, or you can bring them to a potluck and watch them disappear.


At the potluck we hosted two weeks ago, someone brought fondue and we discovered that polenta fries taste pretty darn good if you dip them into the fondue (but the tomato sauce is better).


Enjoy!

Sunday, September 14, 2014

Nutty Graham Picnic Cake


Take photos of your work. Take photos of your work. Take photos of your work.

You'd think that after writing this blog for a couple of years I'd remember to take photos of everything I make, but I don't. Sometimes, as in this case, I took photos of the process and then forgot to take a photo of the final product.

So what you see here is the photo of the last, lonely piece of cake; the cake that I made for my Mother-in-Law's birthday. This cake and I go way back. I think the first time my Mom made it I was around 8 years old or so. This cake became one of our standard family recipes for many reasons, not the least of which is that it's delicious. It's also easy to make, and pretty too because it's made in a bundt pan and it has a lovely glaze on top. Having said all of this, I had never made this cake for my husband or kids or husband's family until just this month - and my husband and I are about to celebrate 20 years together so that is pretty remarkable indeed.

So here's how it happened...I was looking through a box of old photos recently and came across one of my Mom, brother, and me sitting at the kitchen table with this beautiful cake in front of us. I looked closely - could it be? Yes! The Nutty Graham Picnic Cake!!! How had I forgotten all about this beauty?   I put the photo up on the fridge to remind me - next time you need a cake, make this one.

Fast forward to early this month - my Mother-in-Law's birthday. Just the night before I had made another old family recipe, Sour Cream Chocolate Cake, for a dinner we were going to. It was so crazy rich and delicious I actually couldn't even consider having another chocolate cake this night. It was over the top and simply should not be repeated two days in a row. What to make that isn't chocolate? And then I glanced at the fridge and saw the photo. And that was it - to the grocery store for some graham cracker crumbs and orange juice!

As you may have noticed in the title of this recipe, the word 'graham' appears. That's because there are graham cracker crumbs in the batter! You are probably used to using graham cracker crumbs for the crusts of pies and squares, but you are likely similar to me in that in all my years of baking I have never seen graham cracker crumbs inside the cake itself (other than this recipe obviously). The other complimentary ingredient in this cake is orange juice. The juice (and rind) help to cut the sweetness of the cake and give it a certain je ne sais quois.

Since I hadn't made this cake in about 25-30 years I decided to make no substitutions or adjustments just to see what it tasted like the way the author intended it to be. The second time I made it (the next day), I cut back on the sugar. I didn't really notice any difference. I also left the nuts out since I was making this second cake for my kids to take to school (and the school is a nut-free zone).

This delicious cake recipe is from a mini magazine called America's Bake Off and it was published by Pillsbury in 1978. The funny thing about this mini magazine is that almost every single recipe starts with "Take a XXX cake mix and add XXX...". Not typically my kind of recipe source. However, this cake recipe is totally from scratch and doesn't involve any boxed mixes.

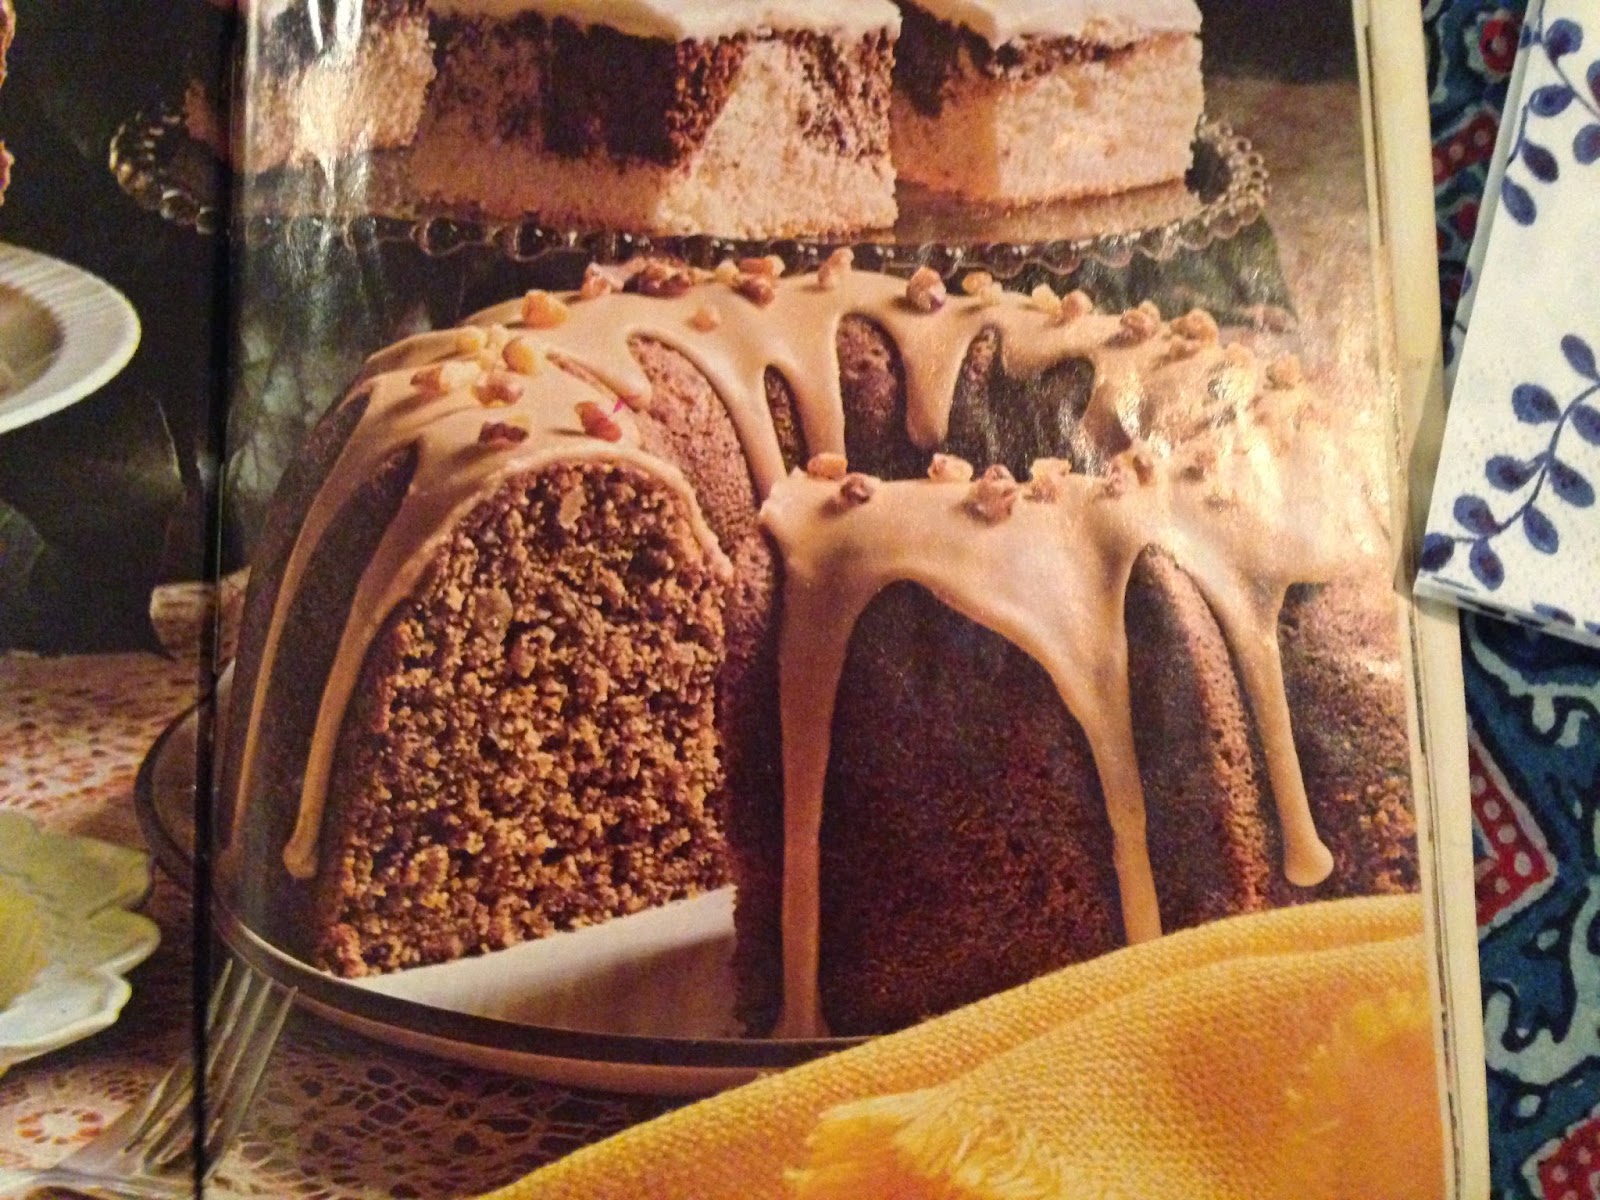
Here is what the cake looks like in the mini magazine:


And here is the photo that inspired me:


So you can see that it IS actually possible to make a cake that looks as good as the professional photo in a cook book.

Without further ado, here is the recipe for the now infamous Nutty Graham Picnic Cake. Instead of re-typing the recipe I am going to show it to you since I especially love the little blurb about Mrs. Esther Tomich of San Pedro, California.


The only changes I made were to put the ingredients in the bowl in a specific order, and beat after each addition. As well, for my Mother-in-Law's birthday cake I used pecans instead of walnuts because that's what I had on hand.

Here are the ingredients in the order I prepared them:

CAKE

1 cup butter
1 cup firmly packed brown sugar
1/2 cup sugar (I left this out of the second cake entirely)
3 eggs
1 cup orange juice
1 tbsp grated orange rind
2 cups all purpose flour
1 cup graham cracker crumbs (14 crackers)
1/2 tsp cinnamon
1 tsp baking soda
1 tsp baking powder
1 tsp salt
1 cup chopped nuts (optional)

GLAZE

2 tbsp brown sugar
5 tsp milk
1 tbsp butter
3/4 cup icing sugar
1/4 cup chopped nuts (to sprinkle on top of glazed cake, before glaze cools)

Start with the butter, then the sugar:


Then the eggs, beating after each one.


Then I added the orange juice...note that the orange juice causes the batter to separate but don't panic. As soon as you put the dry ingredients in the batter will come together again nicely. Here is a photo of what it will look like so you won't panic:


And here's what it looks like when you add the dry ingredients (and orange rind and nuts if you so desire) in and keep on beating:


Once your pan is prepared, pour the batter in and place the cake in the oven. It took 45 minutes in my oven (and I have a hot oven) so I would start checking at about that time.


When it comes out of the oven, the toothpick should be clean. Let it cool on the rack in the pan for 15 minutes and then turn it out on to the rack. 

While the cake is cooling you can prepare the glaze.


Let the cake cool entirely before pouring the glaze over the cake.

Here's a photo of the cake after the glaze has been poured on, but before it has hardened (it firms up slightly as it cools). The cake in this photo has no nuts on top as this was the one I made for the kids for school:


I hope you enjoy this delicious cake as much as my family does! 

Update: October 2017

Made this cake again on the weekend for my brother-in-law Simon's birthday and remembered to take a few photos.