Showing posts with label lemon. Show all posts

Wednesday, February 11, 2015

Lemon Squares (adapted from Alice Medrich's recipe)


This blog post is in honour of my friend, Erica Stark. 

Erica left our world far too soon; she had things to do, plans to make, trips to take, sons and a husband to love. She left behind those sons, that husband, an extended family including her parents - all grieving their sudden and completely unexpected loss, and still in disbelief three months later. 

She also left behind a large circle of devastated friends. She left behind a community, still surprised by her daily absence in the school yard, still looking for her at meetings and events. This community was strong when she was here, and has strangely become stronger since that fateful day. This strength is one of the gifts Erica left for us.

Erica loved to cook and bake for her family and friends, and sometimes even for strangers. Another gift that she left for us was a collection of recipes she shared with various friends and members of the community. In the weeks after her death, people shared stories of Erica and more often than not, the story was centred around food, or involved someone loving a recipe that had been shared by Erica.

I posted an Erica Stark recipe many moons ago, it was for her Lemon Loaf, a favourite in her home and now in ours as well (http://richlerrecipes.blogspot.com/2013/02/favourite-lemon-loaf.html). This recipe for Lemon Squares is not an Erica recipe, but I know she would have loved it because it is lemon and we shared a fondness for a good, tart, and fresh dessert. It's for this reason that I dedicate this post to her.

I miss you, Erica. Bye for now.

Ingredients (my edits are in brackets)

Yield: 16 squares
Note that these are in no way healthy! ~170 calories and close to 7g of fat each if you follow Alice's measurements. Slightly less if you use mine.

Crust
8 tbsp butter
1/4 granulated sugar (I used 1/8 cup - Erica and I both liked to cut back on sugar in recipes as much as possible)
3/4 tsp vanilla extract (always use real vanilla)
1/8 tsp salt
1 cup all-purpose flour

Filling
1 cup + 2 tbsp sugar (I used 2/3 cup)
3 tbsp all-purpose flour
3 large eggs
1 1/2 tsp finely grated lemon zest (I used the grated rind of two lemons, which is more than 1 1/2 tsp)
1/2 cup strained fresh lemon juice (about two lemons)
2-3 tbsp powdered sugar, for dusting

Method:

Melt the butter in the microwave or in a pan on the stove. Remove from the heat and mix the sugar into the butter. Then add the vanilla and salt and stir again. Add the flour and mix until just incorporated. The mixture will appear crumbly in the bowl.


Line an 8" x 8" baking pan with either parchment paper or aluminum foil. Press the crust mixture into the pan evenly.


Bake at 350 F for 25-30 minutes, until the edges are golden brown.


While the crust is baking, prepare the filling.

Stir the flour and sugar together in your mixing bowl (I used my Kitchen Aid but you can also do this by hand).


Add the eggs and mix together on medium speed for about a minute.


Add the lemon zest and juice and mix again.


When the crust is ready, pull out the rack without removing the pan from the oven (I actually took mine out of the oven so I could take a photo - and they turned out just fine). Pour the lemon mix into the pan.


Turn the oven temperature down to 300 F and bake for 20-25 minutes, or until the centre is not jiggly anymore (this was 20 minutes in my oven).


Once completely cooled, lift the foil or parchment to release the large square from the oven and peel the foil/paper away from the edges.


Cut into 16 squares.


Put some powdered sugar into a strainer and dust on top of the squares.


These squares will keep in the fridge for 3 days. After three days they will still taste good but the crust will be a bit soggy. You will have to re-dust with powdered sugar before serving as the sugar will melt into the lemon in the fridge.


Perfect with a cup of tea. Enjoy!

Note: I believe it would be possible to make this recipe gluten-free if you were to replace the all-purpose flour with a gluten free flour mix.

http://www.todaysparent.com/blogs/on-our-minds/pedestrian-deaths-on-the-rise-what-parents-can-do/


Thursday, February 21, 2013

Favourite Lemon Loaf


I wear many hats in my life and the most important one is being a good Mom to my two beautiful boys. As part of this responsibility, this year I volunteered to be the Class Rep for my youngest son’s classroom. I help out with sending messages to parents, and drumming up support for causes dear to the school (like putting together Christmas baskets for neighbours in need). 

My most recent assignment was to encourage parents to contribute to a themed class basket to be auctioned off at the Withrow Public School Silent Auction taking place on February 28 at the school. Our theme was “What’s for dessert?” which was right up my alley. 

I sent out the email request last week and the first person to respond was Erica, the Mom of my son’s friend Gavin. She contributed a lovely loaf pan and a “favourite lemon loaf recipe”. We are suckers for anything lemon-related in our house so I knew I’d be trying this recipe as soon as I could get my hands on a copy – I asked Erica to send it my way and we made it that very night. We weren’t disappointed.

As with any new recipe, sometimes you test it out and it doesn’t quite make the grade. This happened to me with my first attempt – this recipe calls for self-raising flour. I didn’t have any and I guess I was really tired and wasn't thinking clearly, so I decided to just use regular flour. I also cut back on the sugar and butter, as I usually do. I figured this was OK because Erica said that she did the same thing. The end result was a very dense, not very tall loaf – the flavour was fantastic though, and so we ate the entire thing. I am posting the photo of the flat loaf below, just to make you smile.


The kids (and The King of Soup) asked me to make it again so this time I used the trusty internet to find out how to make my own self-raising flour. Turns out it’s easy – you just add baking powder and salt and voila! You’re good to go.

The photos here are from the second attempt – you can see how light and fluffy the loaf looks in the photos. Just delish.

Below are the ingredients and instructions, with my notes and edits, as usual. Thanks Erica!

Ingredients:

Loaf
¾ cup unsalted butter (I used ½ cup salted butter and ¼ cup 0% fat Greek yogurt)
¾ cup sugar (I used ½ cup)
1 tbsp finely grated lemon zest (about the zest of one lemon)
3 eggs, lightly beaten
1 ½ cups self-raising flour (I used 1 ½ cups all purpose flour + 2 tsp baking powder + ½ tsp salt)
1 tsp lemon extract (the original recipe didn’t call for this but I thought it would give it an extra lemony burst, and it did)

Glaze
½ cup sugar (I used ¼ cup)
¼ cup freshly-squeezed lemon juice

Method:
Preheat oven to 325 degrees F. Spray a loaf tin (9x5 inches) with cooking spray and line the bottom of the pan with a rectangle of parchment paper (I didn’t use the parchment and everything turned out well).

In an electric mixer beat the butter, yogurt, sugar and lemon zest for 2 – 3 minutes until fluffy. 


Add the beaten eggs in three parts, alternating with a spoonful of the flour/baking powder/salt mix. Mix well after each addition then add in the remaining flour mixture and fold in until smooth.


Pour the batter (it’s thick) into the pan and smooth it out on top. 


Bake it for 50 – 60 minutes (it only took 45 in my oven) or until a toothpick or skewer inserted into the centre comes out clean. I would start checking at about 42 minutes or so. 

Turn the loaf out onto a wire rack, then flip it over so it is right side up. Take a skewer and poke a few tiny holes in the top, and then place the rack with the loaf on it on top of a plate. The tiny holes you make in the loaf will help it to soak up the lemon glaze you are about to pour on top.

Take ¼ cup of sugar and ¼ cup of freshly squeezed lemon juice and mix with a spoon just a couple of times – you don’t want the sugar to dissolve. Spoon the mixture (quickly) on top of the warm loaf. The juice will sink in and the sugar will form a crystal-like crunch on top. In the photos you can see the crystal-like sugar coating sparkling in the light.

You can serve it immediately, or it will keep (but not for long because it is so delicious). I recommend keeping the juice that drips onto the plate and spooning it over your slice for additional lemon burst. You can serve it with sliced strawberries, or any kind of berry, or raspberry jam. 

As an 'official' dessert, it should serve 8 people. As a loaf, nibbling away bit by bit, it could last for up to 5 hours. I'd be very surprised if it lasts for longer. Especially if there are kids in your house.


Wednesday, September 7, 2011

Lemon Orzo Salad


At my last job we used to have awesome potlucks - they weren't just your standard 'everybody-stop-at-the-store-and-pick-something-up'-type potlucks either. We had themes, occasions, and competitive employees. All in good fun.

One of the best recipes that came out of over 6 years' worth of potlucks was this one, shared by my friend Helen. Thanks Helen!

Ingredients:

2 cups orzo pasta, boiled for 7 to 8 minutes, drained then tossed with
1 tbsp olive oil (just to keep it from sticking)

2 to 3 large, yellow, sweet onions (I always use 3), sliced thin and caramelized over low to medium heat in
3 tbsps vegetable or grapeseed oil - caramelizing takes 20 to 30 minutes - be patient. Near the end of the caramelization process add
3 cloves garlic, minced


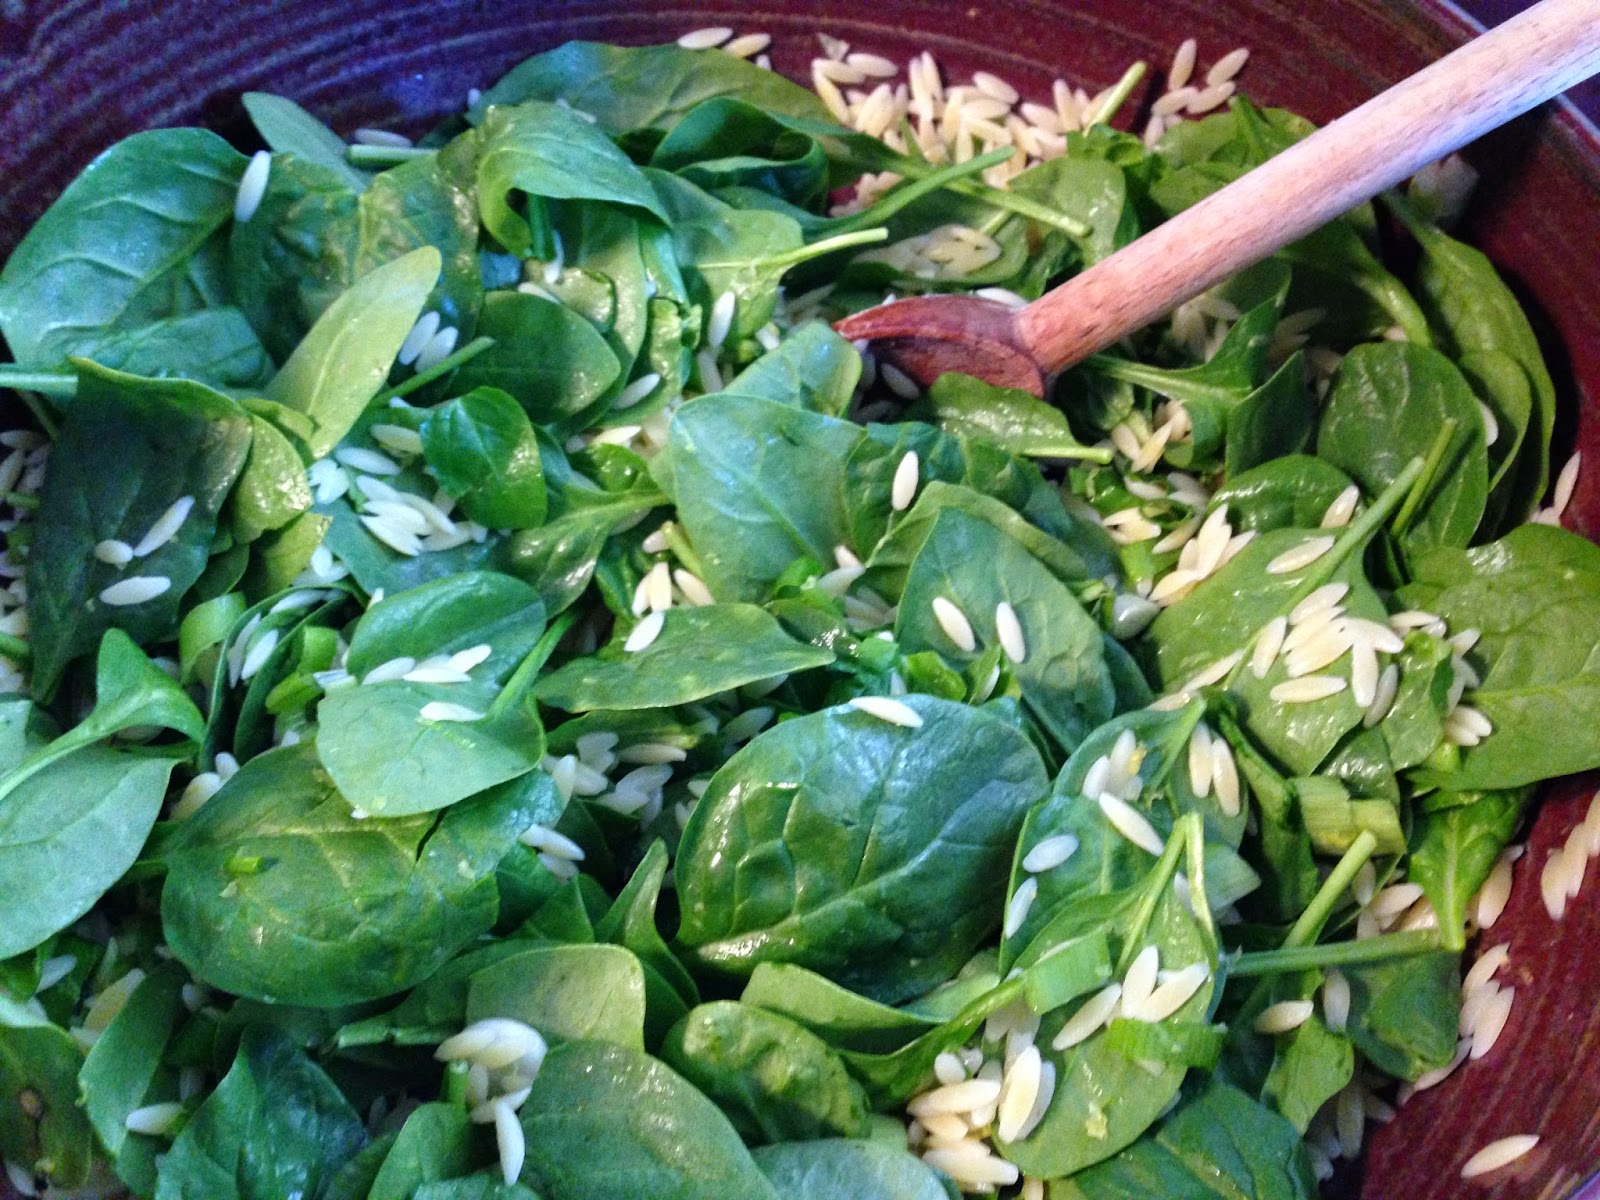
Toss orzo and caramelized onions together, then add 2 to 3 cups baby spinach


Give it a toss, then add the rest of the ingredients:


1 cup creamy feta cheese, crumbled
1 bunch green onions, chopped
zest of 2 lemons
juice of 1 lemon
1/2 tsp salt
1/2 tsp freshly ground black pepper


Toast 1/2 cup toasted pine nuts (pine nuts weren't in Helen's original recipe, but I added them for some additional texture and it is very delicious)


Taste the salad. 


If it is too dry you can add a bit of olive oil (depends on how much oil you used to cook the onions).

This salad will keep very well in the fridge for 3 days which makes it a great choice for packed lunches.